
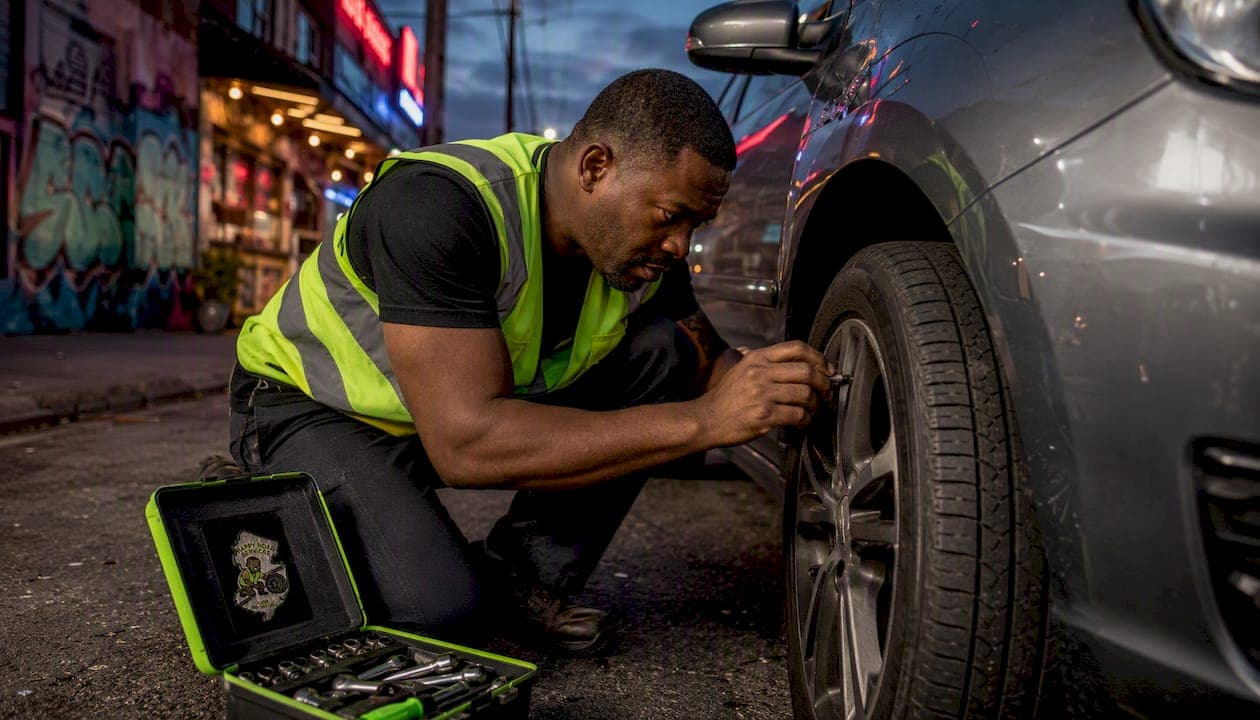
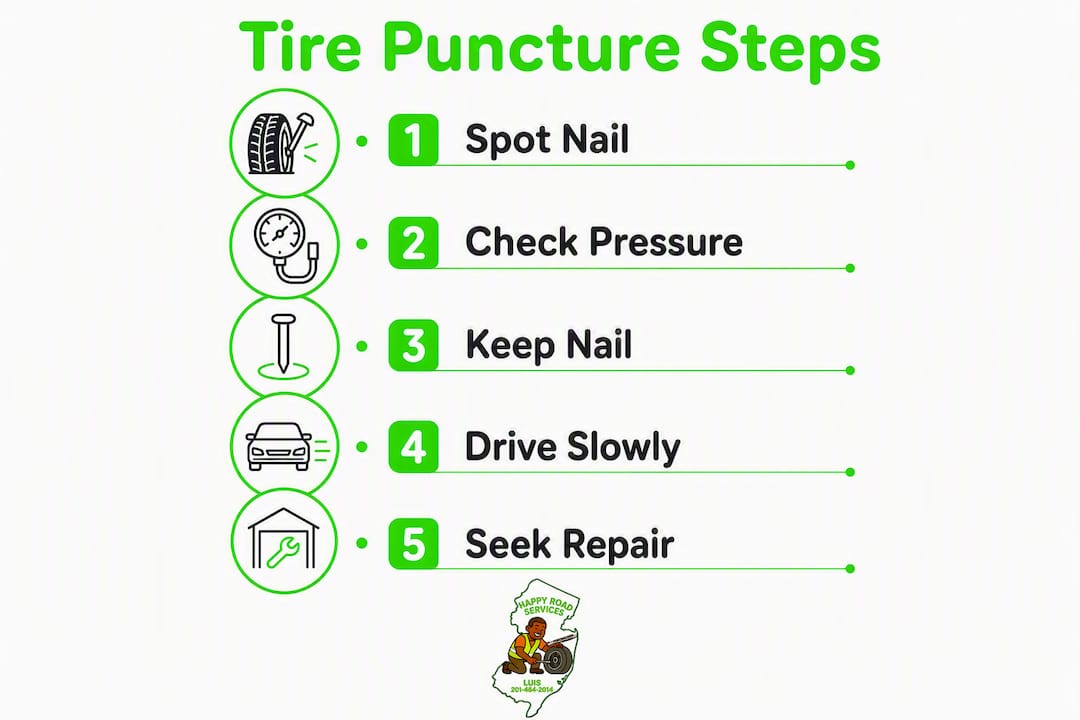
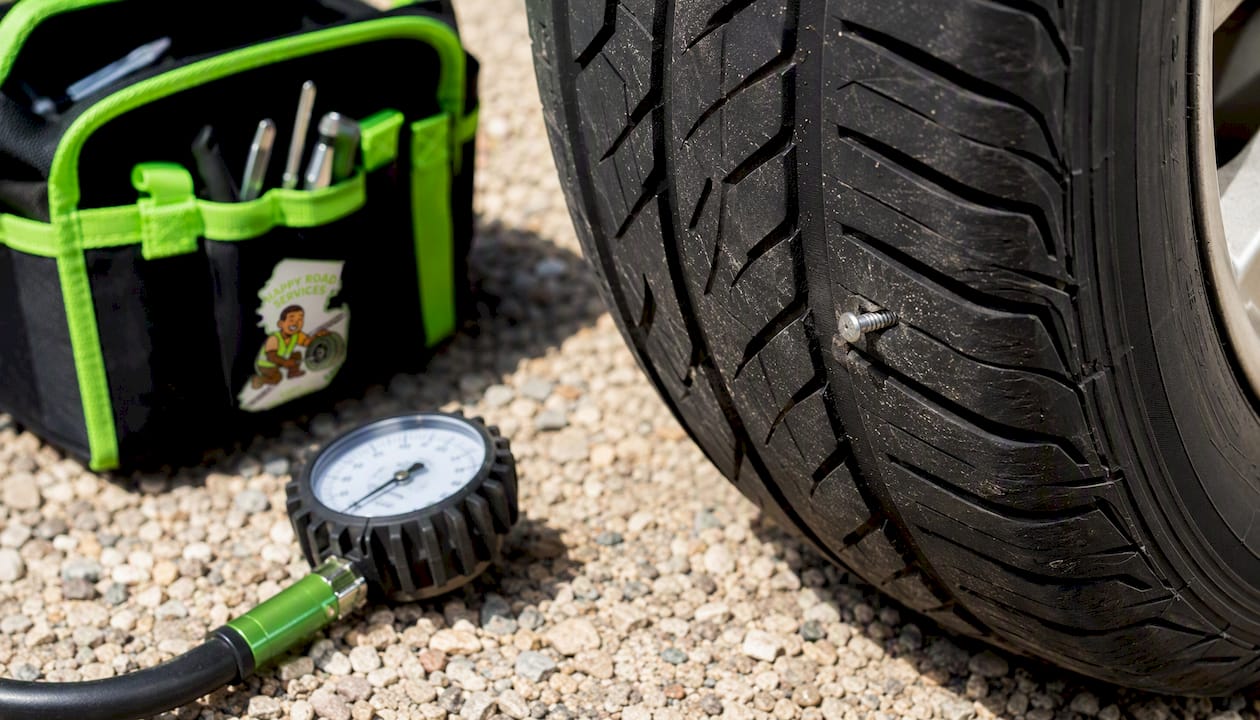
If you find a nail in your tire, pull over safely, check your tire pressure, and leave the nail exactly where it is. Do not pull it out. The nail is often acting as a temporary plug, slowing air loss until a technician can inspect it properly. If the tire is holding pressure, you can drive carefully to a nearby shop or call for mobile help. If it is losing air fast, stop driving immediately, swap to your spare, or call roadside assistance.
Two quick decisions to make right now:
- Tire holding pressure: Drive no more than 20 miles at reduced speed to reach a repair shop, or call a mobile technician to come to you.
- Tire losing air: Do not drive on it. Install your spare if you have one, or call roadside assistance immediately.
A TPMS (tire pressure monitoring system) warning light on your dashboard means the tire's pressure has already dropped enough to trigger concern. Treat that light as a stop signal, not a "keep going" signal.
Table of Contents
- What should you do first when you spot a nail in your tire?
- How do you assess how bad the puncture really is?
- Is it safe to keep driving with a nail in your tire?
- What are your repair options, and which one is actually best?
- How much does tire puncture repair cost, and how long does it take?
- How do professional tire repairs actually work?
- When does a nail mean you need a new tire, not a repair?
- Need help right now? Here is what mobile roadside assistance covers
- What the industry guidelines actually say about repairable vs. replace
- Key Takeaways
- The part most drivers get wrong
- Stuck in Hudson County? Happyroadservices gets there in 15–30 minutes
- Further reading and authoritative sources
What should you do first when you spot a nail in your tire?
- Slow down gradually. Avoid hard braking or sharp turns. Let the car decelerate naturally.
- Find a safe spot. Pull onto a level surface away from traffic. Turn on your hazard lights immediately.
- Check your TPMS. If the warning light is on, pressure has already dropped significantly.
- Visually inspect the tire. Look at the nail's location (tread center vs. sidewall), check for visible bulging or cracking, and note whether the tire looks flat or still inflated.
- Measure tire pressure. Use a gauge and compare the reading to the pressure listed on your door jamb placard. A drop of more than 5–8 PSI from the recommended level is a red flag.
- Decide: drive or stop. If pressure is normal and the tire looks fully inflated, you may drive a short distance. If pressure is low or the tire looks soft, stop and either use your spare or call for help.
Tools worth keeping in your car: a quality pressure gauge, a portable inflator (12V plug-in type), and a reflective hazard triangle. If you need to swap to a spare, loosen the lug nuts slightly before jacking the car, never after.
Pro Tip: Never remove the nail at the roadside. Pulling it out can cause instant, complete air loss and leave you stranded. Leave it in place until a technician is ready to do the repair.
How do you assess how bad the puncture really is?
Not every nail puncture is the same. Technicians evaluate five things when they first look at a damaged tire:
- Location: A puncture in the center tread area is potentially repairable. One in the shoulder (the curved edge between tread and sidewall) or the sidewall itself is generally not repairable.
- Hole size: Punctures are repairable only when the hole is no larger than 1/4 inch (6 mm); larger holes typically require replacement.
- Angle of penetration: A nail that went in at a steep angle creates a larger, more irregular channel inside the tire than one that went straight through.
- Number of punctures: Multiple holes close together weaken the casing and usually mean replacement.
- Internal damage: If you drove on the tire while it was significantly underinflated, the inner cords and belts may already be compromised, even if the puncture looks small from the outside.
| Puncture Scenario | Typically Repairable? |
|---|---|
| Center tread, ≤ 1/4 inch (6 mm), nail went straight in | Yes |
| Center tread, > 1/4 inch or angled entry | No |
| Shoulder area (tread edge) | No |
| Sidewall puncture, any size | No |
| Multiple punctures close together | No |
| Drove on flat or very low pressure | Usually no |
Pro Tip: Before calling for help, take a photo of the tire from two angles: one showing the nail's position relative to the tread center, and one showing the full sidewall. A technician can often give you a preliminary assessment over the phone from those two shots.
Is it safe to keep driving with a nail in your tire?
The direct answer: only if the tire is holding its full pressure, and only for a short distance.
Driving a short distance to reach a repair shop is generally considered acceptable when a tire is holding pressure. Beyond that, the risk of a blowout climbs sharply. Keep your speed well below highway speeds and stick to local streets where you can pull over quickly if the tire starts losing air.
Situations where even a short drive is too risky:
- The TPMS light is on or pressure has dropped more than a few PSI.
- The tire looks visibly soft or flat.
- You can hear air escaping.
- The nail is in the sidewall or shoulder.
- You feel any vibration, pulling, or handling change.
Key risk: Heat is the enemy. A tire losing pressure builds heat faster under load, and heat accelerates structural breakdown. A slow leak that seems manageable at 20 mph can become a blowout at 50 mph.
Check your pressure every few miles if you do drive to a shop. If it drops more than a couple of PSI during that short trip, pull over and call for help instead of continuing.
What are your repair options, and which one is actually best?
The best permanent fix is a professional internal plug-patch, done with the tire removed from the wheel so the technician can inspect the inner liner. Everything else is a temporary measure.
Mobile roadside repair A mobile technician comes to you, which means you avoid driving on a compromised tire. Depending on the tech's equipment, they can install your spare, perform a temporary plug, or in some cases do a proper plug-patch on-site. Ask specifically whether they demount the tire for an internal inspection or only do an external plug.
- Best when: tire is losing air and you cannot safely drive to a shop.
- Limitation: not all mobile techs carry full plug-patch equipment.
Shop internal plug-patch Industry best practice is a plug-patch combination performed with the tire demounted so the inside can be inspected. This is the only repair method that seals the inner liner and fills the injury channel simultaneously.
- Best when: tire is holding pressure and you can drive or be towed to a shop.
- Most durable repair available.
External plug-only (DIY or shop) Fast and cheap, but an external plug-only repair can complicate later professional inspection and does not allow an inside look at the liner. Treat it as a temporary fix, not a permanent solution.
Aerosol tire sealant (Fix-a-Flat type) Gets you moving in an emergency, but sealant coats the inner liner and can interfere with a proper repair later. Some sealants also damage TPMS sensors. Use only as a last resort.
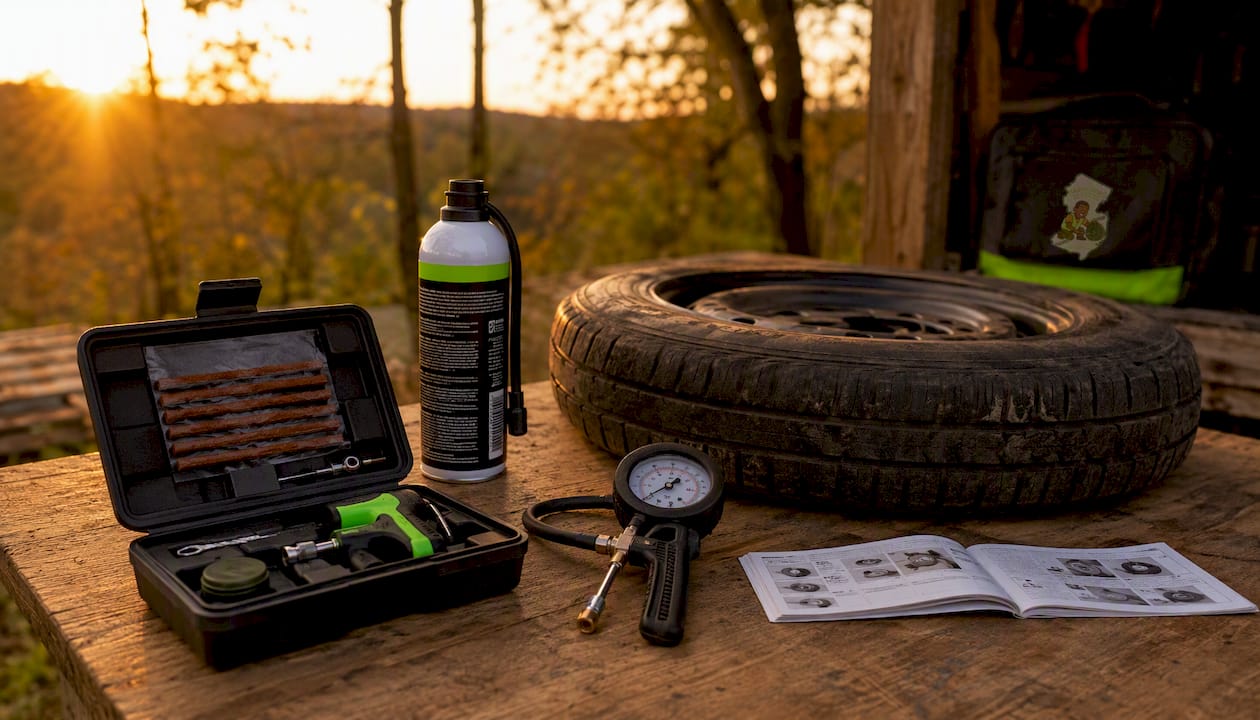
Spare tire The cleanest short-term solution if you have a full-size spare. A compact spare (donut) limits you to about 50 miles at 50 mph maximum. Get the damaged tire repaired or replaced before relying on the spare long-term.
Pro Tip: When calling a mobile technician, ask two questions upfront: "Do you demount the tire for an internal inspection?" and "Is this a plug-patch or an external plug only?" The answers tell you whether you are getting a permanent fix or a temporary one.
How much does tire puncture repair cost, and how long does it take?
Repairs cost far less than replacement in almost every scenario. Here is what to expect:
| Service | Typical Price Range | Approximate Time |
|---|---|---|
| External plug only | typically under $20–$50 | quick service |
| Internal plug-patch (shop) | between $10 and $50, plus mount/balance fees as needed | standard repair time |
| Full tire replacement (tire + mount + balance) | significantly higher, depending on tire size and shop fees | longer service time |
| Mobile roadside tire change (spare install) | variable cost depending on service call | quick service duration |
Simple repairs typically cost between $10 and $50, while mount and balance fees vary by shop and region. What catches drivers off guard are the add-ons. TPMS service kits, valve stem replacement, and disposal fees can add $20–$40 to a base repair or mounting invoice. Always ask for an itemized estimate before work begins.
- Mobile service calls typically include a service fee on top of the repair or spare installation cost.
- Balancing is required after a full tire replacement but not always after a plug-patch repair.
- Disposal fees are commonly charged at most shops.
How do professional tire repairs actually work?
A proper repair is not just plugging the hole from the outside. Here is the full sequence a certified technician follows:
- Re-mount and balance — the tire on the wheel.
The reason external plugs are considered temporary is straightforward: they fill the channel but do not seal the inner liner, and they skip the internal inspection entirely. Aerosol sealants do even less, coating the inside of the tire without addressing the structural injury at all.
When you bring a tire in for repair, ask whether the puncture overlaps any prior repair. Two repairs that are too close together weaken the casing and usually mean the tire needs to be replaced.
When does a nail mean you need a new tire, not a repair?
Replace the tire, not just the puncture, when any of these apply:
- The puncture is in the sidewall or shoulder area, regardless of size.
- The hole is larger than 1/4 inch (6 mm) in diameter.
- There are multiple punctures within a few inches of each other.
- A prior repair is near the new puncture.
- You drove on the tire while it was significantly underinflated. Internal cord or belt damage from driving on a flat frequently makes a once-repairable puncture unrecoverable.
- The tire is a run-flat type. Run-flats have reinforced sidewalls that can sustain hidden damage even when driven at low pressure, and most manufacturers do not recommend repairing them.
- The tire tread is worn near the wear bars (2/32 inch remaining). Repairing a nearly worn-out tire is not worth the cost.
The safety rationale is simple: a tire with sidewall damage or internal cord failure cannot hold pressure reliably under load. No patch fixes a compromised casing.
Need help right now? Here is what mobile roadside assistance covers
Mobile roadside assistance can handle a tire emergency on the spot, without you driving anywhere on a damaged tire. Here is what a typical dispatch covers:
- Spare tire installation: The tech removes the flat and mounts your spare, whether full-size or compact.
- Mobile inflation service: If the tire is holding pressure, a tech can inflate it and escort you to a nearby shop.
- Temporary plug (external): Some mobile techs carry plug kits for a quick field repair.
- Tow coordination: When the tire is unrepairable and you have no spare, a mobile operator can arrange a tow to the nearest shop.
When you call, have this information ready: your exact location (cross streets or a pin), your vehicle's make and model, whether you have a spare in the car, and a description of the tire's current condition (flat, soft, nail visible, TPMS light on). That lets the dispatcher send the right equipment and give you an accurate arrival estimate.
Pro Tip: Ask for an itemized estimate before the technician starts work. A reputable mobile service will quote the service call fee and any repair or spare installation cost separately, so there are no surprises on the invoice.
What the industry guidelines actually say about repairable vs. replace
Technicians use a short checklist, not guesswork, to decide whether a tire can be saved:
- Hole size: ≤ 1/4 inch (6 mm) in the tread area is the standard repair threshold; larger holes require replacement.
- Location: Center tread only. Shoulder and sidewall punctures are never repairable under industry guidance.
- Internal condition: The inner liner must be intact. Driving on low pressure, even briefly, can cause cord damage that is invisible from the outside.
- Prior repairs: A tire with a repair already in or near the new puncture zone is typically replaced.
- Run-flat status: Most run-flat tires are not approved for repair after a pressure loss event.
A TPMS warning light or a visible nail head is an immediate triage signal for any technician. After a repair, check pressure frequently for the next week; a recurring slow leak after a professional fix is a red flag for hidden damage and should trigger replacement.
Always request an internal inspection and a plug-patch repair when you bring a tire in. If a shop offers only an external plug, ask why, or find a shop that does the full demount procedure.
Key Takeaways
A nail in the tread that is 1/4 inch or smaller is often repairable; a nail in the sidewall or a tire driven flat almost always means replacement.
| Point | Details |
|---|---|
| Leave the nail in place | Removing it causes instant air loss; let a technician extract it during repair. |
| Drive limit when holding pressure | No more than 20 miles at reduced speed before getting a professional inspection. |
| Repair threshold | Punctures ≤ 1/4 inch (6 mm) in the center tread are typically repairable; sidewall punctures are not. |
| Watch for hidden costs | TPMS kits, valve stems, and disposal fees can add $20–$40 to any repair or mount invoice. |
| Happyroadservices | Provides 24/7 mobile tire change and roadside assistance across Hudson County NJ, typically arriving within 15–30 minutes. |
The part most drivers get wrong
Most of the panic around a nail in a tire is understandable, but the instinct to act fast usually makes things worse, not better. Drivers pull the nail out, pour in aerosol sealant, and then drive to a shop at highway speed. By the time they arrive, what was a $25 plug-patch job has turned into a $150 tire replacement because the sealant contaminated the inner liner and the low-pressure driving shredded the cords.
The counterintuitive truth: doing less is almost always the right call. Leave the nail in. Drive slowly and briefly if the tire holds pressure. Call for help if it does not. The nail itself is rarely the problem. The damage that happens afterward, from panicked decisions, is what costs money.
One more thing worth saying: a slow leak after a professional repair is not normal. Shops advise checking pressure repeatedly over the next week after any repair. If the tire keeps losing air, the repair did not hold and the tire likely has hidden damage. Push back and ask for a replacement, not a second patch.
Stuck in Hudson County? Happyroadservices gets there in 15–30 minutes
When a flat tire catches you on a Jersey City street, a Hoboken block, or anywhere across Hudson County, the fastest fix is a technician who comes to you, not the other way around.
Happyroadservices runs 24/7 mobile tire service across Hudson County NJ, with typical response times of 15–30 minutes. The team handles spare tire installation, mobile inflation, and towing coordination when a tire is beyond roadside repair. Pricing is itemized and quoted before work starts, so you know exactly what you are paying before anyone touches the car.
To get help fast, call or message with your location, vehicle type, and a quick description of the tire's condition. For drivers in Jersey City, Hoboken, Bayonne, Union City, and Kearny, request mobile roadside assistance here and a local technician will be on the way.
Further reading and authoritative sources
Use these sources to verify repair thresholds, cost estimates, and technician procedures. For run-flat tires or specialty tires, always follow your vehicle manufacturer's guidelines and consult a certified tire technician before making a repair-or-replace decision.
This article provides general information for educational purposes. For run-flat tires, specialty tires, or any situation involving visible structural damage, consult a certified tire technician or your vehicle manufacturer's guidelines before driving.